
DIY Chopping Board Tips: How to Make a High-Quality Homemade Cutting Board
Creating your own DIY chopping board is a fun, cost-effective, and rewarding project. A homemade cutting board allows you to customize the size, material, and finish to suit your kitchen needs while ensuring it’s built to last. Creating your own DIY chopping board is a fun, cost-effective, and rewarding project. A homemade cutting board allows you to customize the size, material, and finish to suit your kitchen needs while ensuring it’s built to last.
In this in-depth guide, we’ll walk you through everything you need to know—from selecting the best wood type to cutting, assembling, finishing, and maintaining your chopping board.

https://woodencraftsliving.com/cutting-board-supplier/
https://woodencraftsliving.com/cutting-board/
1. Choosing the Right Wood for Your DIY Chopping Board
The wood type you choose will determine durability, knife-friendliness, and resistance to bacteria. Here’s a breakdown of the best options:
✅ Best Woods for Cutting Boards:
| Wood Type | Hardness (Janka Rating) | Pros | Cons |
|---|---|---|---|
| Maple (Hardwood) | 1,450 lbf | Durable, knife-friendly, antimicrobial | Can dry out if not oiled regularly |
| Walnut | 1,010 lbf | Soft on knives, rich dark color | Slightly softer, may dent |
| Cherry | 950 lbf | Beautiful reddish tone, doesn’t dull knives | Softer than maple |
| Beech | 1,300 lbf | Affordable, widely available, good durability | Prone to cracking if not maintained |
| Bamboo | 1,380 lbf | Eco-friendly, naturally antimicrobial | Can dull knives over time |
❌ Avoid These Woods:
🚫 Softwoods (Pine, Cedar, Fir) – Too soft, leading to deep knife marks and bacterial buildup.
🚫 Open-Grain Woods (Oak, Ash, Elm) – Absorbs water and bacteria more easily.
👉 Pro Tip: Choose edge grain or end grain wood for superior durability and self-healing properties!
2. Tools & Materials Needed for a DIY Chopping Board
Essential Tools:
✔ Saw (Table saw, circular saw, or handsaw) – To cut the wood into shape.
✔ Clamps – For securing the wood while gluing.
✔ Sander or Sandpaper (80 to 320 grit) – To smoothen the surface.
✔ Wood Glue (Food-Safe, Waterproof) – Such as Titebond III for strong joints.
✔ Router (Optional) – To round the edges for a professional look.
Additional Materials:
✔ Food-Grade Mineral Oil – Protects the wood from moisture and cracking.
✔ Beeswax or Board Cream – Adds a water-resistant finish.
3. Step-by-Step Guide: How to Make a DIY Cutting Board
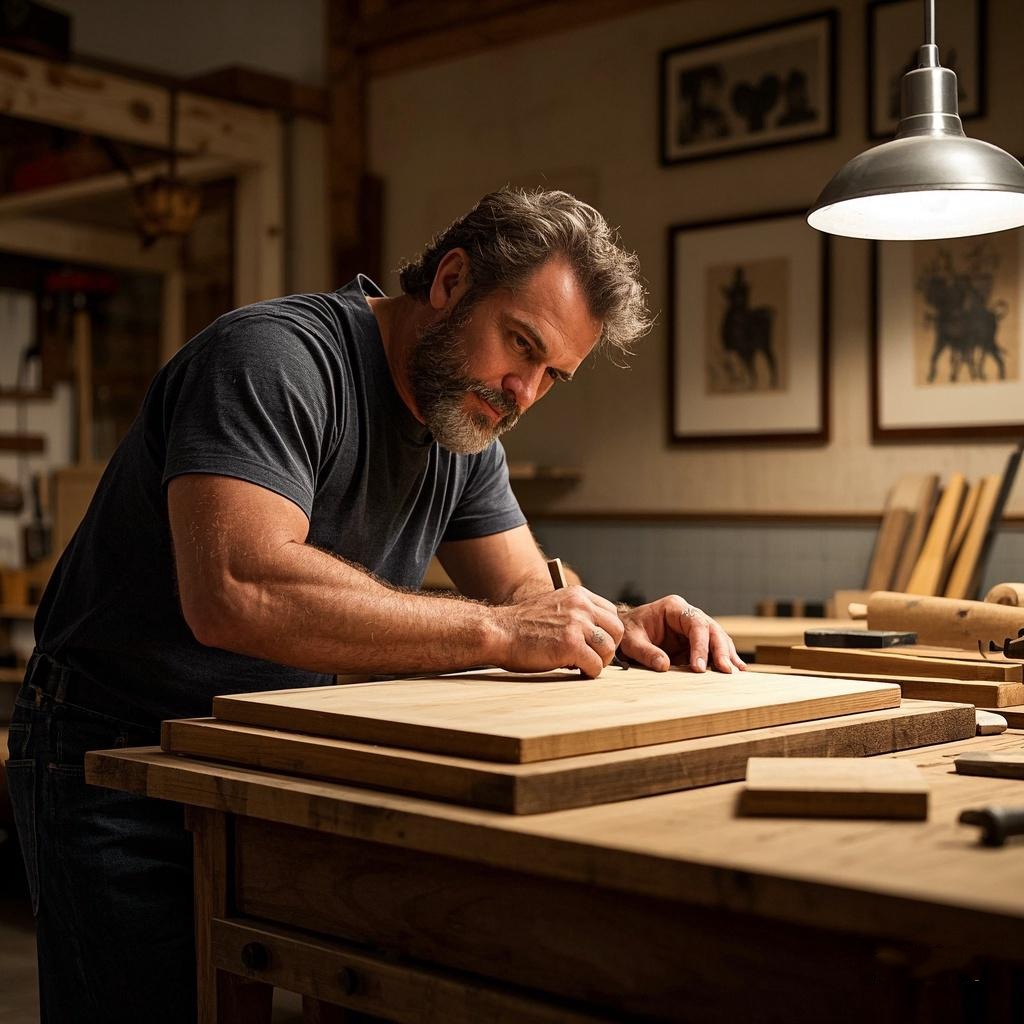
Step 1: Cut & Prepare the Wood
1️⃣ Decide on the size – A standard cutting board is 12” x 18”, but you can adjust based on your needs.
2️⃣ Cut the wood planks to size (if using multiple pieces, make sure they fit together tightly).
3️⃣ Sand the edges to remove splinters.
👉 Tip: If using multiple planks, alternate the grain direction for added stability.
https://woodencraftsliving.com/cutting-board-supplier/
https://woodencraftsliving.com/cutting-board/
Step 2: Glue & Clamp the Board
✔ Apply food-safe wood glue evenly on the edges of each plank.
✔ Use clamps to hold the pieces together tightly.
✔ Wipe off excess glue with a damp cloth.
✔ Let it dry for at least 24 hours for maximum strength.
👉 Pro Tip: Apply even pressure while clamping to prevent uneven surfaces.
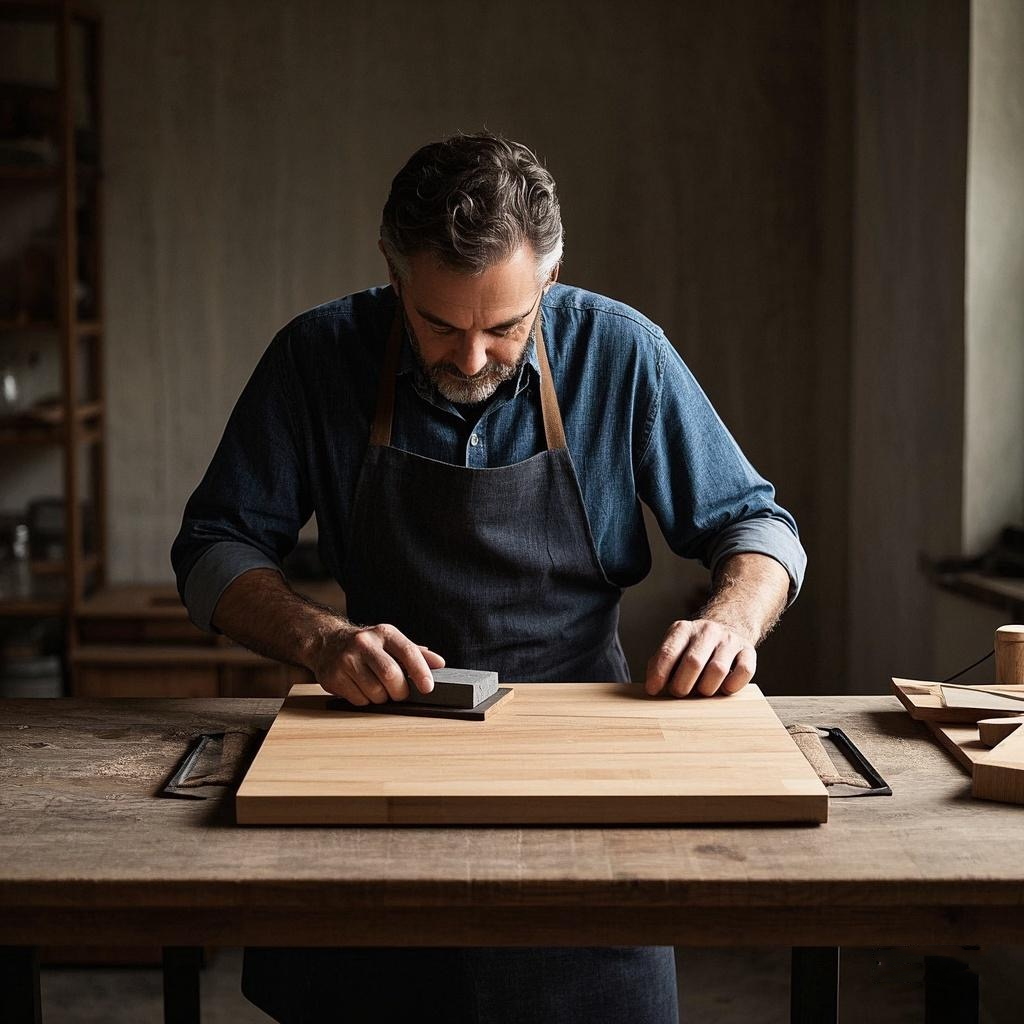
Step 3: Sanding for a Smooth Finish
✔ Start with 80-grit sandpaper to remove rough spots.
✔ Progress to 120, 220, and finish with 320 grit for a silky-smooth surface.
✔ Round the edges using a router or sandpaper for a softer feel.
👉 Pro Tip: Run your hand over the board to check for imperfections before finishing.
https://woodencraftsliving.com/cutting-board-supplier/
https://woodencraftsliving.com/cutting-board/
Step 4: Apply a Food-Safe Finish
✔ Use food-grade mineral oil to protect against moisture.
✔ Apply 3–4 coats, letting each absorb for a few hours.
✔ For extra protection, rub in beeswax or board cream for a water-resistant seal.
👉 Pro Tip: Reapply oil every 2–4 weeks to maintain longevity.

https://woodencraftsliving.com/cutting-board-supplier/
https://woodencraftsliving.com/cutting-board/
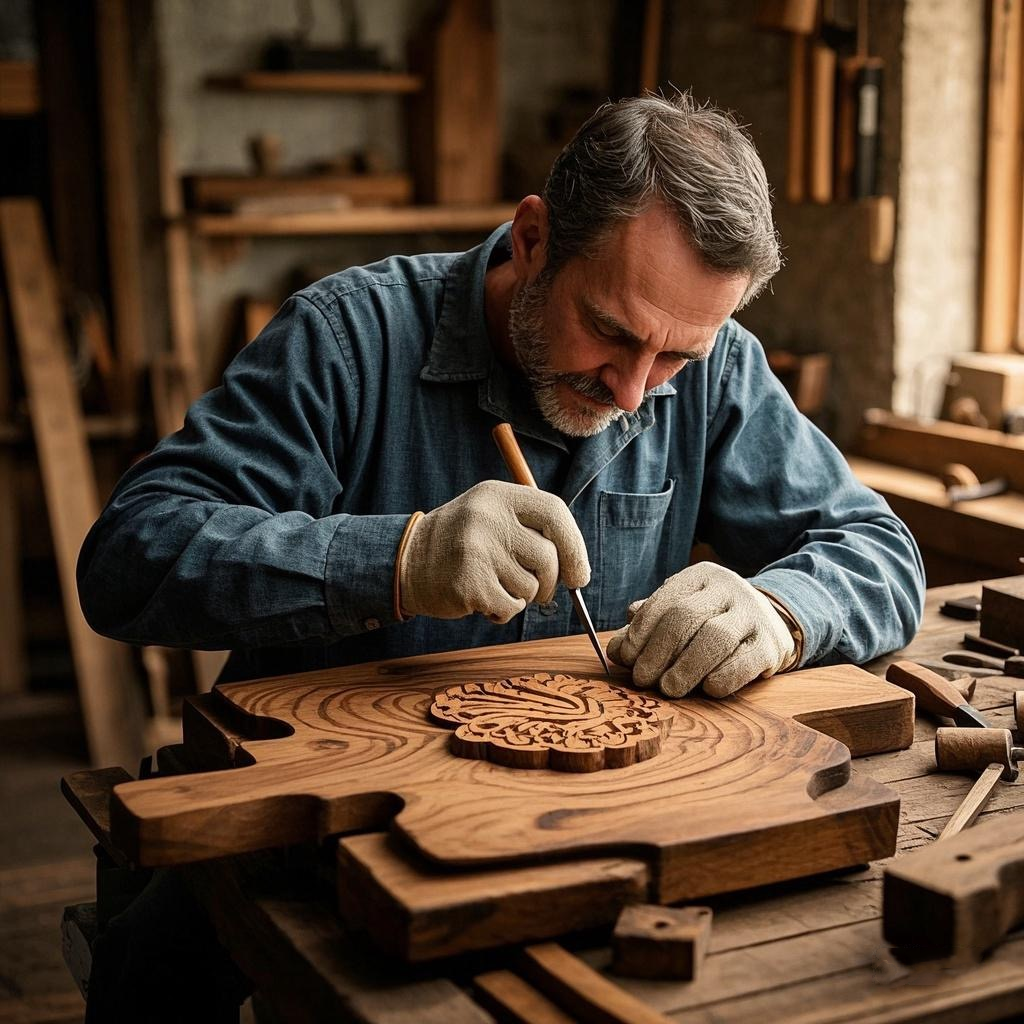
4. Customizing Your DIY Cutting Board
Want to make your chopping board unique? Try these creative ideas:
✨ Juice Groove – Use a router to carve a shallow groove around the edge to catch liquids.
✨ Handle Cutouts – Drill finger holes or carve handles for easy carrying.
✨ Laser Engraving – Personalize with names, designs, or monograms.
✨ Two-Tone Wood Design – Combine walnut and maple for a stylish contrast.
https://woodencraftsliving.com/cutting-board-supplier/
https://woodencraftsliving.com/cutting-board/
5. Maintenance & Care for a Long-Lasting Cutting Board
💧 Do Not Soak – Avoid submerging in water to prevent warping.
🧼 Hand Wash Only – Use mild soap and warm water, then dry immediately.
🌿 Sanitize Naturally – Rub with lemon & salt to remove odors and bacteria.
🛢 Oil Regularly – Keep the board moisturized to prevent drying and cracking.
👉 Pro Tip: If your board warps slightly, place a damp towel over it and set a heavy object on top overnight.
Conclusion: Build a Cutting Board That Lasts a Lifetime
Making your own DIY chopping board is a simple yet satisfying project that lets you create a high-quality, eco-friendly kitchen essential. By choosing the right wood, following proper gluing and finishing techniques, and maintaining it well, you can enjoy a beautiful, durable, and handcrafted cutting board for years to come.
Key Takeaways:
✅ Choose hardwoods like maple, walnut, or cherry for the best durability.
✅ Use food-safe glue, mineral oil, and beeswax for long-lasting protection.
✅ Sand properly and apply multiple coats of oil to prevent cracking.
✅ Customize with juice grooves, handles, or engravings for a professional look.
✅ Maintain your board by hand-washing and reapplying oil regularly.
Now that you have the knowledge, it’s time to grab your tools and start crafting your own homemade cutting board! 🔨🪵
https://woodencraftsliving.com/cutting-board/