DIY Stone Cutting Board: How to Make Your Own Unique Kitchen Tool
Creating a DIY stone cutting board is an excellent way to combine functionality, aesthetics, and a bit of personal craftsmanship. Whether you choose granite, marble, slate, or even quartz, making your own stone cutting board can add a personal touch to your kitchen and give you a durable, long-lasting surface for meal prep.
In this guide, we’ll walk you through the process of creating your very own stone cutting board, from selecting the right materials to the tools and steps required.
1. Materials You’ll Need for a DIY Stone Cutting Board
Stone Slab
The first step in making a stone cutting board is selecting the right stone slab. You can choose from materials like granite, marble, slate, or quartz. Here’s a brief guide to help you pick:
- Granite: Durable and scratch-resistant, great for heavy chopping.
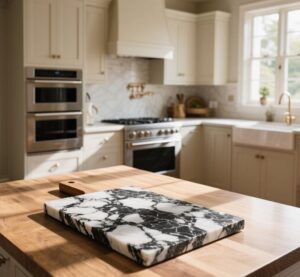
- Marble: Elegant and cool, ideal for pastry work.
- Slate: Rustic and unique, often used in farmhouse-style kitchens.
- Quartz: Low-maintenance and customizable.
You can find stone slabs at home improvement stores, stone suppliers, or even repurpose an old countertop or tile.
Tools Needed
- Measuring tape or ruler
- Tile cutter or stone saw (for cutting the slab to size)
- Sandpaper or diamond polishing pads (for smoothing the edges)
- Cushioning material (rubber feet or adhesive pads to prevent scratching countertops)
- Sealer (if using marble or granite)
- Protective gloves (since working with stone can be tough on your hands)
2. Step-by-Step Guide to Making a DIY Stone Cutting Board
Step 1: Select and Measure Your Stone Slab
Begin by selecting a stone slab that fits the dimensions you want for your cutting board. The typical size for a standard cutting board is around 12 inches by 16 inches, but you can go larger or smaller based on your preference.
- Tip: If you’re repurposing a countertop or leftover tile, use a measuring tape to mark the dimensions of the cutting board on the stone.
Step 2: Cutting the Stone
If your stone slab is larger than the desired size, you’ll need to cut it down. For most DIY projects, a tile cutter or stone saw should work, but these tools can be difficult to handle, especially for beginners. You may want to consider hiring a professional if the stone is thick or hard to cut.
- Warning: Always wear protective gloves and goggles while cutting stone. The dust created during cutting can be harmful to your health.
Step 3: Smooth the Edges
After cutting your stone to the desired size, the edges will likely be rough or sharp. You’ll want to smooth them out to prevent injury and make the board more visually appealing.
- Option 1: Use sandpaper with a low grit to gently smooth the edges.
- Option 2: For more precision, use diamond polishing pads, which are specifically designed for stone surfaces.
Continue smoothing until the edges are round and even. This step is essential, especially if you have children or frequently handle the cutting board with bare hands.
Step 4: Polish the Surface
To give your stone cutting board a smooth, glossy finish, use a polishing pad or soft cloth with a stone-safe polish. This will make the board both more functional and visually appealing.
- Tip: If you’re using marble or granite, you may want to seal the surface with a stone sealer to protect it from stains and moisture. Apply the sealer according to the manufacturer’s instructions and allow it to dry thoroughly.
Step 5: Attach Cushioning Feet
To protect your countertops and prevent the stone from slipping while in use, add rubber feet to the bottom of your stone cutting board.
- Option 1: You can purchase adhesive rubber feet from most hardware stores and stick them to the four corners of the board.
- Option 2: If you want a more customized look, you can apply adhesive pads or felt pads along the bottom edges to prevent sliding.
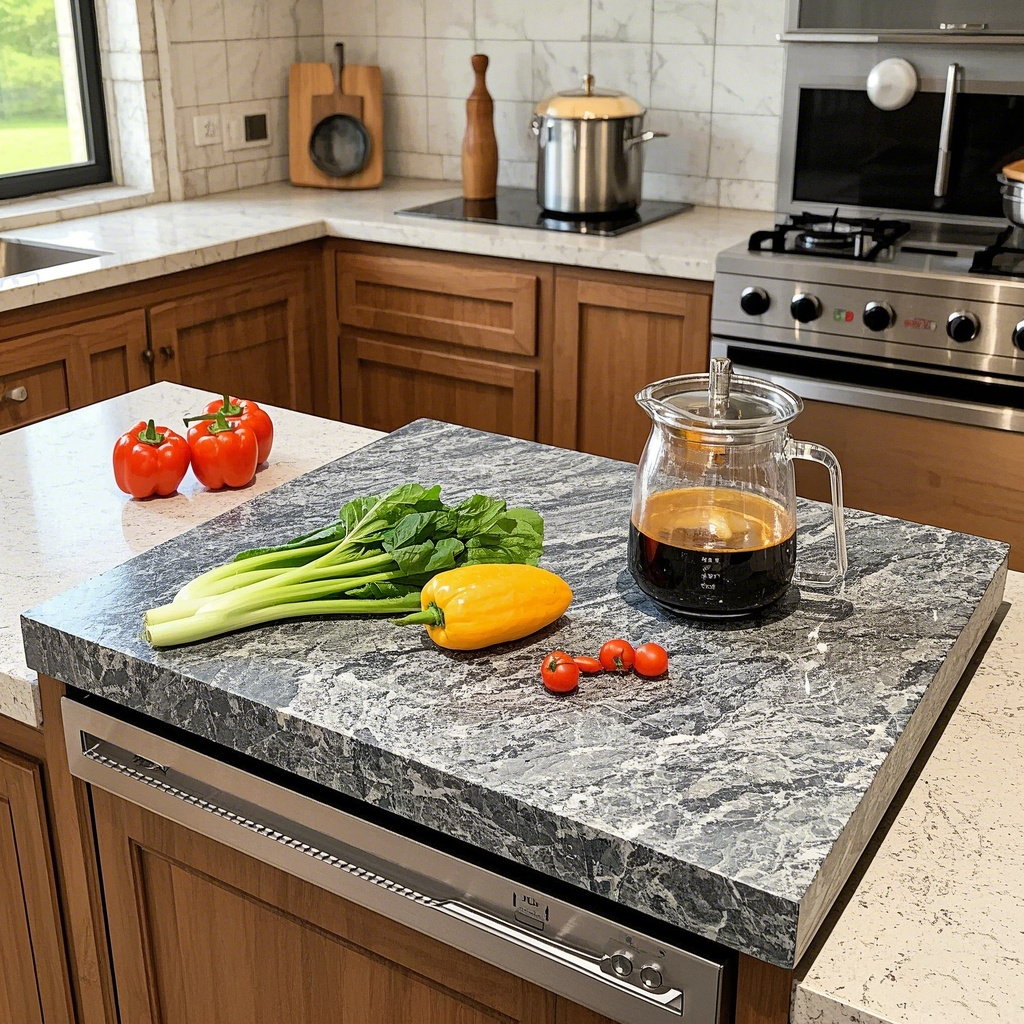
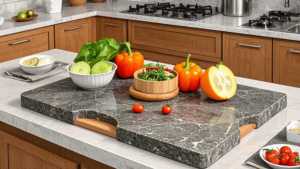
Step 6: Enjoy Your Finished Cutting Board
Your DIY stone cutting board is now ready for use! It’s a stylish, durable, and unique piece that will last for years if cared for properly.
3. Care and Maintenance Tips for Your Stone Cutting Board
While stone cutting boards are durable, they require some basic care to maintain their beauty and functionality.
Cleaning
- Granite and Quartz: Wipe down with mild dish soap and warm water. Use a soft cloth or sponge to clean, and avoid harsh chemicals that could damage the surface.
- Marble: Since marble is more porous, be extra careful with acidic foods like tomatoes, citrus, or vinegar, as they can stain or etch the surface. Clean with mild soap and water to avoid damage.
- Slate: Similar to granite, slate is easy to clean but should be wiped down regularly with soap and water to prevent buildup.
Sealing
If you’ve made your cutting board from marble or granite, it’s a good idea to seal it periodically. This will help protect the surface from staining and maintain its longevity.
Avoid Heavy Chopping
Stone cutting boards are tough but can still damage knives over time. Avoid using them for heavy-duty chopping tasks, such as cutting through bones or dense vegetables, which can dull your knives faster.
4. Why Make a DIY Stone Cutting Board?
Creating your own stone cutting board can offer several benefits, including:
1. Personalization
DIY stone boards allow you to create a customized piece that matches your kitchen’s decor. Whether you choose granite, marble, or slate, you can handpick the material and shape that best suits your needs.
2. Durability and Functionality
Stone is incredibly durable and non-porous, meaning it’s resistant to bacteria, scratches, and stains. A stone cutting board can last for years if maintained properly, making it a long-term investment.
3. A Unique Gift Idea
A DIY stone cutting board also makes for a fantastic gift. Customize it with a personal engraving or design for a unique, thoughtful present that anyone can use in their kitchen.
Conclusion: DIY Stone Cutting Boards are a Craftsmanship Triumph
Building a DIY stone cutting board is a rewarding project that blends both functionality and artistry. Whether you choose granite, marble, quartz, or slate, you’ll have a durable, stylish board that will enhance your kitchen experience for years to come.
While it requires a bit of time, effort, and the right tools, making your own stone cutting board allows you to create a one-of-a-kind piece that reflects your personal style. Plus, the result is a highly functional kitchen accessory that’s both practical and visually stunning.
Ready to get started on your DIY stone cutting board? Happy crafting!